How to Buy Your First Index Fund

The first time I opened a brokerage app, I stared at the screen for twenty minutes. There were tickers, order types, and a “Buy” button that felt like it might drain my account if I pressed it wrong. I closed the app and told myself I would try again when I understood more.
That feeling is common, especially if you grew up with a different financial system. The good news is that buying an index fund is much simpler than the screen makes it look. Once you know the few decisions that matter, the whole process takes about an hour, and most of that is opening the account.
This guide walks you through every step: what to check before you invest, how to choose a fund, how to place your first order, and how to automate everything so you can get back to your life. If you are brand new to the idea, what investing is and why it matters is a good place to start.
Before You Buy: Check Your Foundation
Index funds are simple, but the timing of your first purchase matters. Make sure these three things are in place first.
1. A small emergency fund. Investments can drop in value right when life gets expensive. If your car breaks down or your hours get cut, you do not want to sell at a loss to cover it. Keep a few months of essential expenses in cash before you invest.
2. A budget that shows what you can spare. Investing works best when it is consistent, and consistency requires knowing how much is left after your bills. If you do not have a budget yet, follow our guide to creating your first budget.
3. A plan for high-interest debt. If you carry credit card balances at 20 percent interest or more, paying them down usually beats any investment return you can reasonably expect. The first 90 days financial checklist for immigrants can help you decide what to tackle first.
Also, only invest money you will not need for at least five years. Rent, tuition, visa fees, and money you plan to send home soon belong in cash.
Step 1: Understand What You Are Buying
An index fund holds a basket of investments that follows a list, called an index. Instead of choosing one company, you own a small slice of hundreds or thousands of them. The two most common choices for beginners are:
- S&P 500 index fund: Tracks the 500 largest publicly traded US companies.
- Total market index fund: Tracks thousands of US companies of every size, including smaller ones the S&P 500 leaves out.
Either one is a reasonable core holding. They overlap heavily, since large companies make up most of a total market fund anyway. Do not spend days agonizing over this choice. Picking one and starting matters far more than picking the “perfect” one.
For a broader introduction to how the market works, see the beginner’s guide to the stock market.
Step 2: Choose Between a Mutual Fund and an ETF
Index funds come in two formats, and brokerages show both. They are very similar, but they behave differently when you buy.
Index mutual funds are bought directly from the fund company or through your brokerage. Their tickers usually end in X, such as FXAIX or VTSAX. Orders are processed once per day after the market closes. Some have minimum investments, though many brokerages now offer zero-minimum funds. Mutual funds are often the easiest option for automatic monthly investing because you can buy exact dollar amounts.
Index ETFs (exchange-traded funds) trade on the stock market all day like a share of a company. Examples include VOO, VTI, and IVV. Most major brokerages let you buy fractional shares of ETFs, so you can invest $25 even if one full share costs several hundred dollars.
Neither is better for everyone. A simple rule of thumb: if your brokerage offers a low-cost index mutual fund with no minimum and automatic investing, that is the easiest path. If you prefer flexibility or your brokerage supports fractional ETF purchases, an ETF works just as well.
Step 3: Pick Your Fund Using Three Criteria
When you search for a fund, you will see dozens of options with confusing names. Narrow them down with these checks.
Check the index it tracks. Look for names that include “500 Index,” “Total Stock Market Index,” or “Total Market Index.” Avoid funds with words like “aggressive,” “sector,” “thematic,” or “leveraged” in the name. Those are not broad, boring index funds, and they carry much more risk.
Check the expense ratio. This is the annual fee, shown as a percentage of the money you have invested. Broad US index funds from the major providers often charge between 0.00 and 0.10 percent. That means you pay about $1 per year for every $1,000 invested or less. Fees change over time, so confirm the current number on the fund’s page before you buy. Be cautious with any “index” fund that charges close to 1 percent, because over decades that gap adds up to a large amount.
Check the provider. Stick with large, established companies such as Fidelity, Vanguard, Charles Schwab, or iShares. If you buy through Fidelity, its own index funds are usually the cheapest option there, and the same goes for Schwab and Vanguard.
To see how small fee differences grow over time, read how compound interest builds wealth.
Step 4: Choose a Brokerage and Open an Account
A brokerage is the platform where you buy and hold your investments. The big names for beginners are Fidelity, Charles Schwab, and Vanguard. All three are well established, regulated in the United States, and offer low-cost index funds. Look for no account fees, no minimum to open, fractional share support, and an app or website you find easy to use.
If you have a Social Security Number: Opening an account usually takes 10 to 20 minutes online. You will provide your name, address, date of birth, SSN, and employment information, then link your bank account.
If you have an ITIN instead: Some brokerages accept ITINs and others do not, and the policies can change. Check our roundup of the best ITIN investment apps for 2026 before you apply. If you do not have a bank account yet, here is how to open a US bank account without an SSN.
Your immigration status can also affect which accounts you can open, so keep your documents handy and be honest on every form.
Step 5: Decide Which Type of Account to Use
You can hold the same index fund in different types of accounts, and the account type changes how it is taxed.
- Taxable brokerage account: Flexible, with no limits and no penalties for withdrawing. You pay taxes on dividends and on profits when you sell.
- Roth IRA: A retirement account where you contribute money you have already paid tax on, and qualified withdrawals in retirement are tax-free. You need earned income to contribute, and there are yearly limits and income limits.
- 401(k): An employer retirement plan, often with automatic payroll deductions and sometimes a company match. A match is extra money from your employer, so capturing it is usually a smart first move.
If your employer offers a match, start there. After that, many people consider a Roth IRA, and then a regular brokerage account for extra savings. Our guides on why every immigrant needs a Roth IRA and what a 401(k) is and whether you should use yours explain the tradeoffs. If you might return to your home country someday, also read what happens to your 401(k) if you leave the US before you decide.
One detail trips up many beginners: opening a Roth IRA does not invest the money automatically. After you deposit cash, you still have to buy the index fund inside the account. Otherwise your money just sits there as cash.
Step 6: Place Your First Order
Now for the part that scared me. Here is what to do, in plain language.
- Deposit money. Transfer funds from your linked bank account. This can take one to three business days the first time.
- Search for your fund by ticker. Type the ticker symbol into the search bar and open the fund’s page. Confirm the name and expense ratio match what you expect.
- Click Buy. Choose the account you want to buy in.
- Enter an amount. For mutual funds and fractional ETFs, you can enter a dollar amount, such as $50. For ETFs without fractional shares, enter a number of shares.
- Choose the order type. For mutual funds, there is nothing to choose, since the order fills at the end of the day. For ETFs, you will usually see two options. A market order buys right away at the current price, and a limit order buys only at a price you set. For broad ETFs with a small purchase, a market order during regular trading hours is fine. Avoid placing market orders in the first and last few minutes of the trading day, when prices can swing.
- Review and submit. Check the fund, amount, and account, then confirm.
You will see the order as pending, then filled. Congratulations, you are an investor. Do not be alarmed if the value dips a little the next day. Prices move daily, and that is normal.
Step 7: Automate Your Contributions
The most powerful move comes after your first purchase. Set up a recurring transfer and automatic purchase so you invest every month without thinking about it.
Most brokerages let you schedule a monthly deposit from your bank and a recurring buy of your chosen fund. Pick a date right after payday so the money moves before you can spend it. This habit is called dollar-cost averaging. You buy more shares when prices are low and fewer when prices are high, which removes the stress of trying to time the market.
Start with an amount you will not miss, even $25 or $50. You can raise it whenever your income grows. If you want ideas for starting small, see how to start investing in the US with $100.
What to Do After You Buy
A good index fund strategy is boring on purpose. Here is how to maintain it.
- Check in once or twice a year. Confirm your automatic purchases are still running and increase your contribution if you can.
- Ignore the daily noise. Headlines will predict crashes and booms every week. Your plan does not depend on them.
- Do not sell in a panic. Selling after a drop turns a temporary decline into a permanent loss. Historically, US markets have recovered from past downturns, though nothing is guaranteed and recoveries can take years.
- Keep your records. Save your account statements and tax forms. Brokerages send tax documents each year, and you will need them when you file. If you earn money or hold accounts abroad, our guide on foreign asset reporting may apply to you.
Common Beginner Mistakes to Avoid
- Buying a fund with a high fee. Always check the expense ratio.
- Leaving money uninvested. Depositing cash into an account is not the same as buying a fund.
- Investing money you will need soon. Keep short-term money in savings.
- Chasing hot tips. A broad index fund is not exciting, and that is the point.
- Waiting for the perfect moment. No one can time the market consistently, so starting small now beats starting big later.
For a longer list, read common investing mistakes new immigrants make. And if you are unsure whether to invest or save first, index funds vs. high-yield savings can help you decide where your next $1,000 should go.
Your First Purchase Is the Hardest One
Buying your first index fund takes a bit of courage and a little patience with unfamiliar screens. After that, it gets easier every month. You open an account, choose a broad low-cost fund, place one order, and automate the rest. That is the whole process.
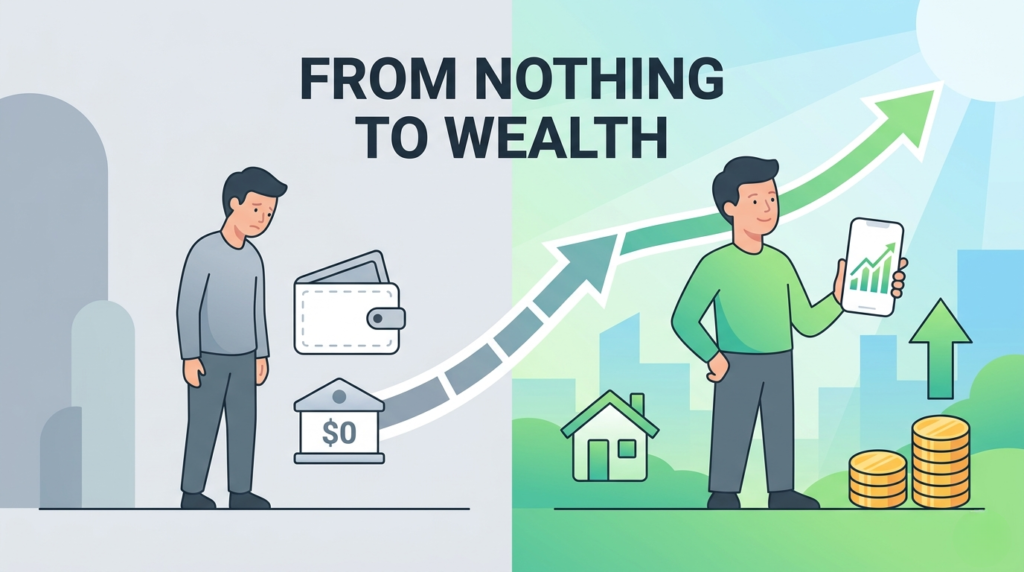
Every investor who has built real wealth started with a first purchase that felt small and slightly uncomfortable. Make yours today, keep it consistent, and let time do the heavy lifting.
For more tools, calculators, and straightforward road-maps made for newcomers, visit our tool page built for newcomer.
Disclaimer: This article is for educational and informational purposes only and does not constitute financial advice. All investing involves risk, including the possible loss of principal. Specific funds and brokerages are mentioned as examples, not recommendations. Fees, policies, and tax rules change, so confirm current details and consult a qualified professional before making major financial decisions.